Eufy RoboVac LR30 Hybrid

$399.99

Eufy Eufy RoboVac LR30 Hybrid helps you to keep your home clean! The vacuum cleaner has a height of 100 mm, so it can vacuum under most beds and sofas

Category: Tags: ,

Description

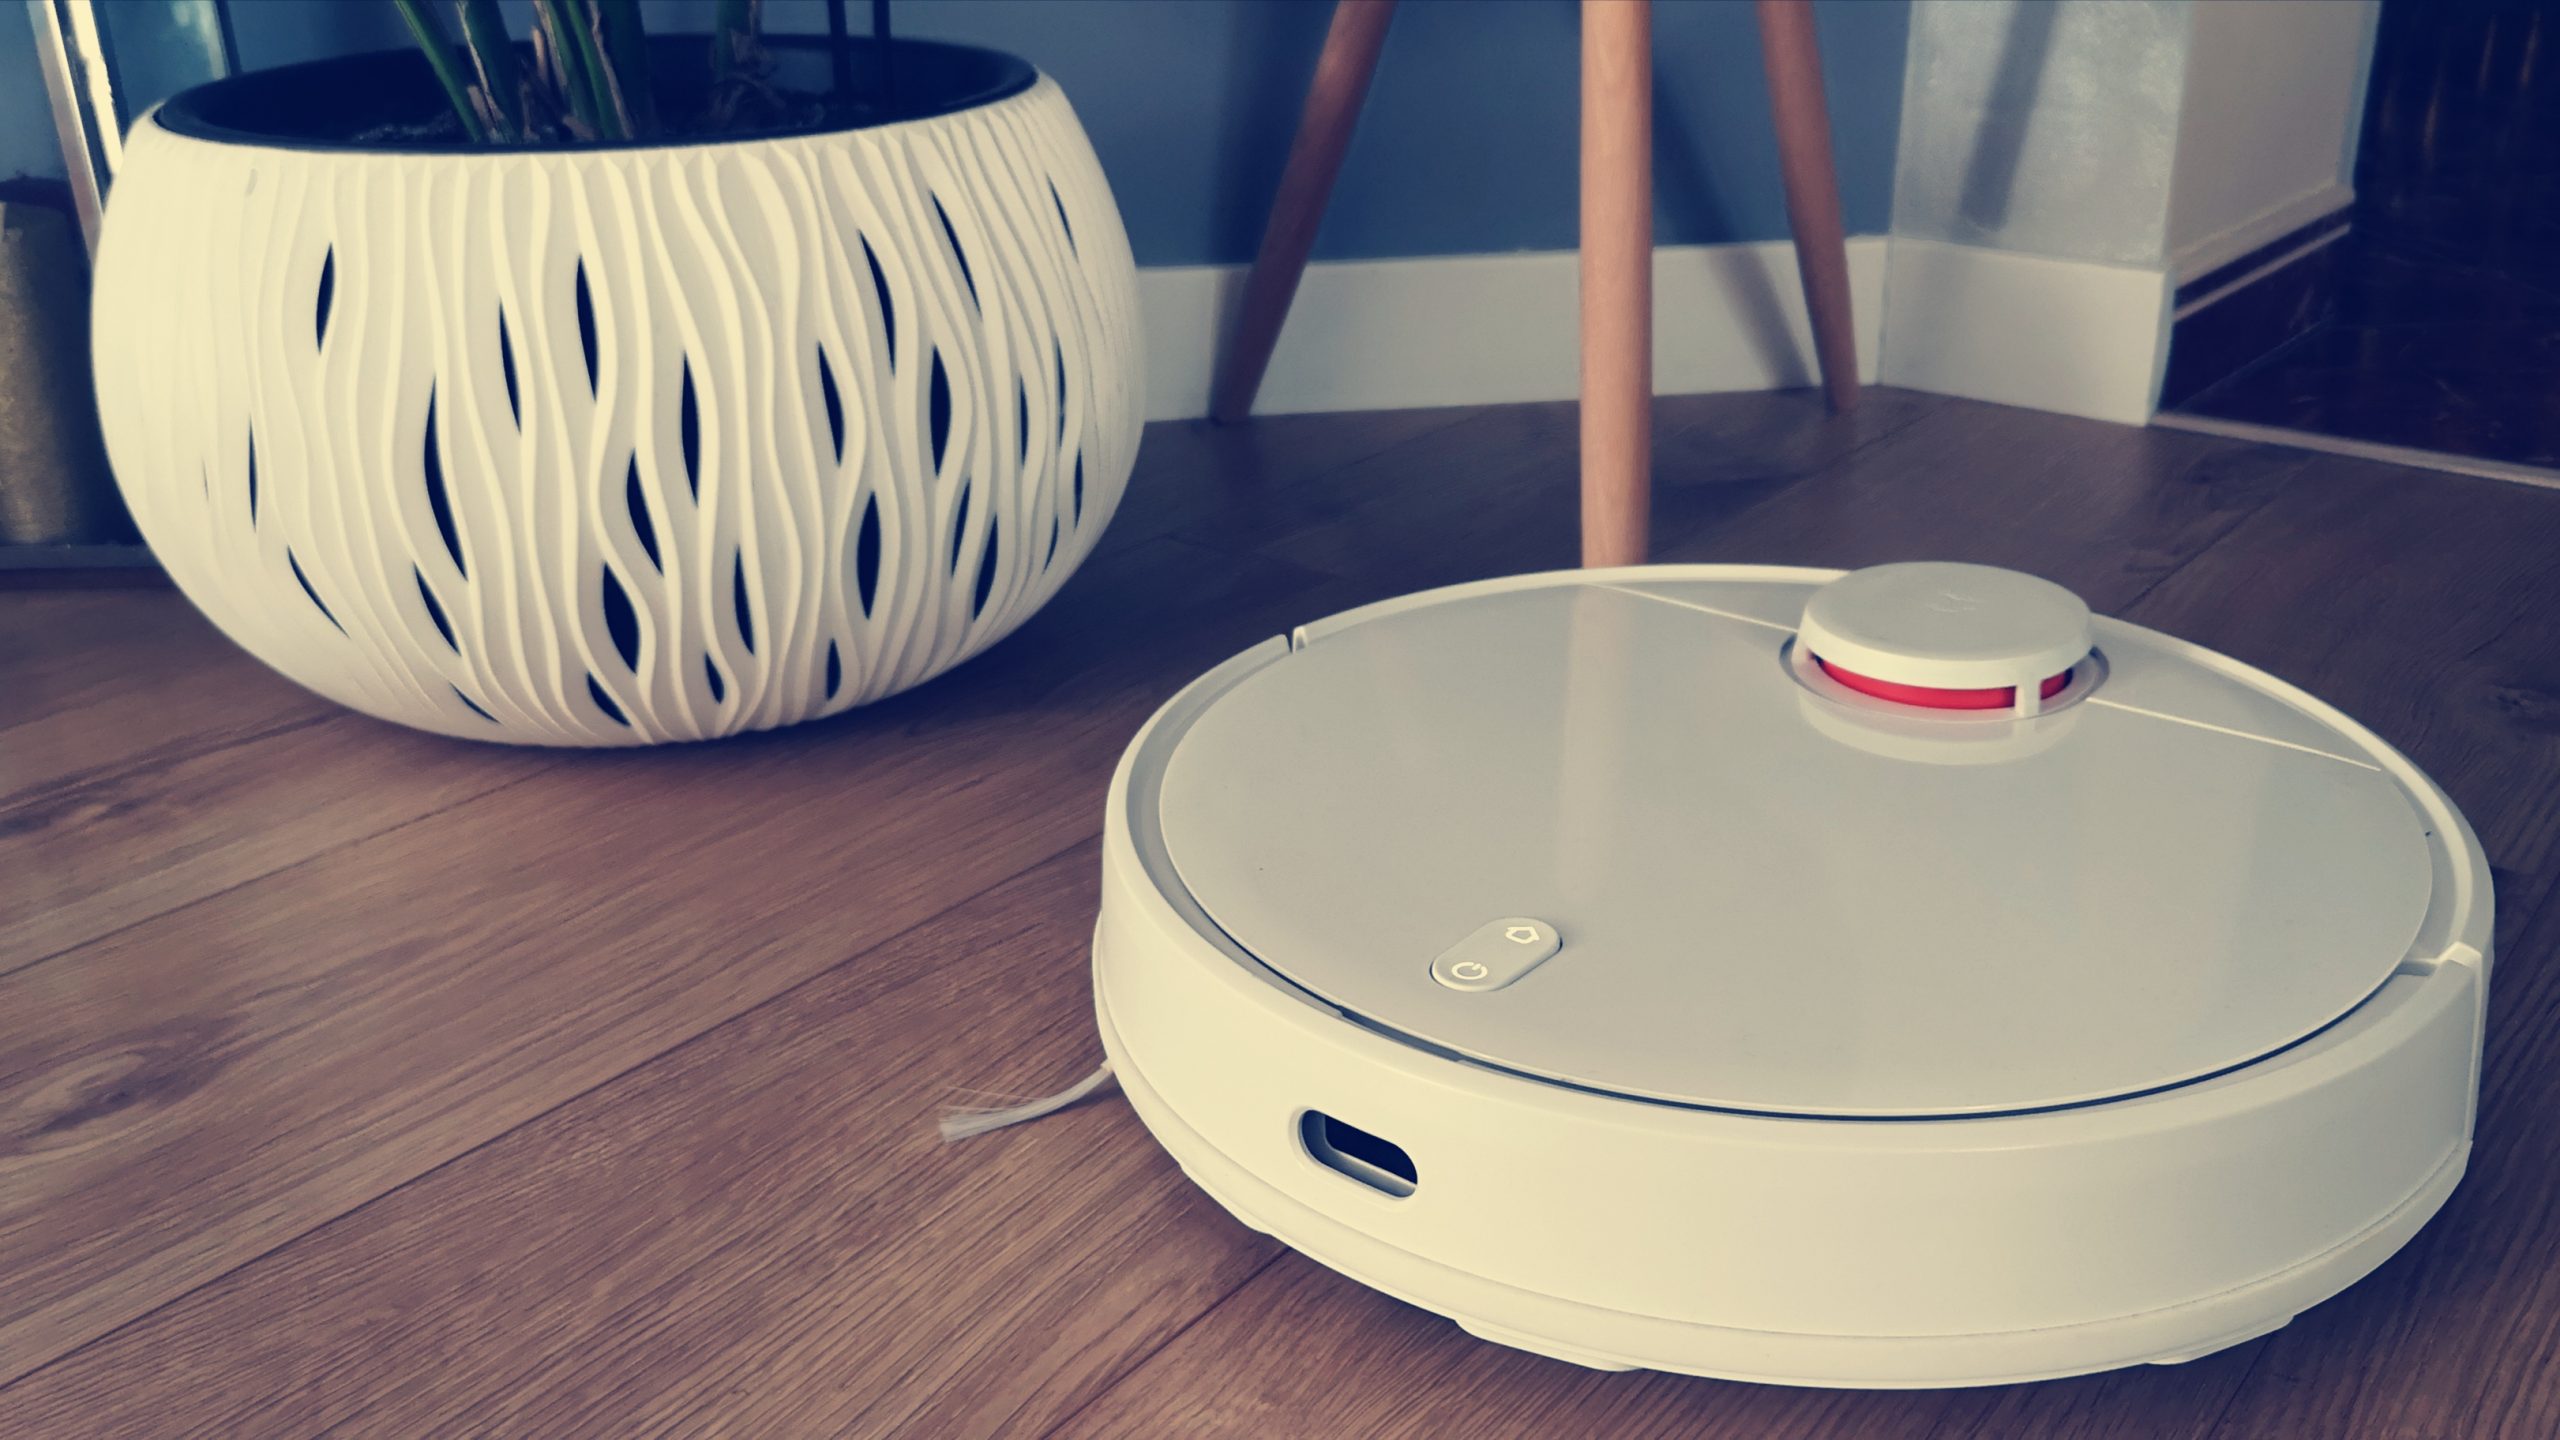
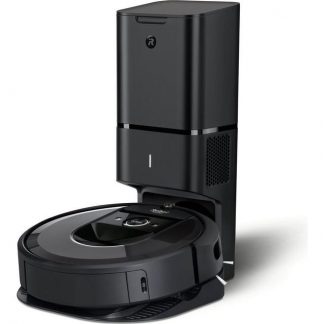
As long as you don’t have abnormally high doorsteps, there’s no problem for the robot vacuum cleaner to move from room to room. This robot vacuum cleaner works best on hard materials, such as parquet or tiled floor. It can also vacuum short-haired carpets properly.

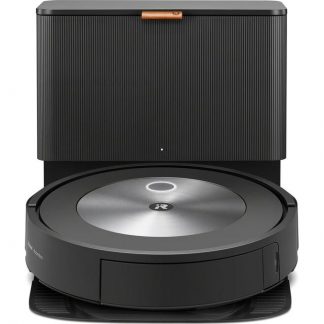
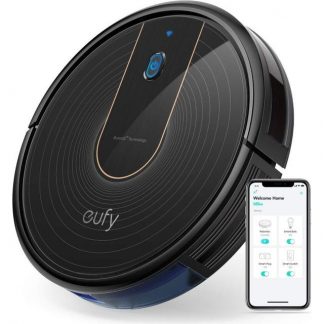
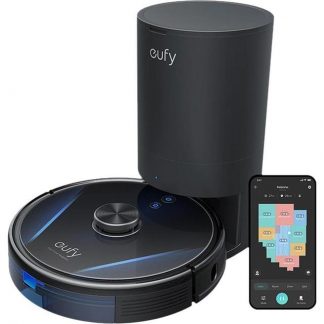
Eufy Eufy RoboVac LR30 Hybrid is equipped with a mop function so it will also swab the floor for you. It is a quiet automatic vacuum cleaner with a sound level of only 62 decibels.

If you love vacuuming, this isn’t the product for you. Different needs require different robot vacuum cleaners, so make sure you know what you need before choosing a model. Right now you can get this vacuum cleaner from Eufy for the low price of £399.99.

Reviews

There are no reviews yet.

Be the first to review “Eufy RoboVac LR30 Hybrid”

Your email address will not be published. Required fields are marked *

Frequently Asked Questions:

How can I schedule regular cleanings using my iRobot Roomba J7?

To schedule regular cleanings with your iRobot Roomba J7, follow these steps:

1. Connect the Roomba to Wi-Fi: Ensure that you have successfully connected your Roomba J7 to your home Wi-Fi network. This allows you to use the iRobot Home app for scheduling and monitoring cleaning tasks.

2. Download the iRobot Home app: If you haven't already, download and install the iRobot Home app on your smartphone or tablet. The app is available for both iOS and Android devices.

3. Register and sign in to the app: Create an account by providing your email address and password. Then, sign in to your iRobot Home app using these credentials.

4. Connect your Roomba J7 to the app: In the iRobot Home app, click "Add" at the top of the screen, then choose "Vacuum." Search for your Roomba J7 and connect it to your account by following the on-screen prompts.

5. Schedule a cleaning task: Once your Roomba J7 is connected to the app, tap the "Clean" button in the center of the home screen. Here you can select a specific room or area that you want your Roomba to clean. Alternatively, you can choose "Custom" and create a customized cleaning schedule based on your preferences.

6. Set up a recurring cleaning schedule: To set up a regular cleaning schedule, tap the "Scheduled Cleaning" button at the bottom of the screen. You'll see options for setting daily, weekly, or monthly schedules. Select your desired frequency and time slots, then confirm your changes by tapping "Save."

Your Roomba J7 will now automatically start its cleaning tasks according to the schedule you have set up in the iRobot Home app. You can always adjust or cancel your scheduled cleanings as needed.

What is the best cleaning mode for my Roborock S7 MaxV Ultra to use on hardwood floors?

The best cleaning mode to use for hardwood floors with your Roborock S7 MaxV Ultra is the "Quiet Mode" and select "Hard Floor" in the app or on the robot itself. This will ensure that the robot uses the appropriate suction power and sweeping pattern designed for hard floor surfaces, and minimize any potential damage caused by excess force from brushes or vibrations.

How do I set up and use my Xiaomi Roidmi Eve Plus for the first time?

Here's a step-by-step guide to help you set up and start using your Xiaomi Roidmi Eve Plus for the first time:

1. **Charge the battery:** Before starting, make sure the battery is fully charged. Connect the charging cable to the power outlet and attach the other end to the EVA Plus vacuum cleaner. The charging LED indicator will light up during the charging process, which usually takes about 2-3 hours for a full charge.

2. **Install the dustbin:** After charging, remove the dustbin from its compartment on the back of the unit. To install it, simply press the lock button at the bottom and insert it into the designated slot until you hear a click. Ensure that the dustbin is correctly installed before proceeding with the setup process.

3. **Download the Roidmi App:** Visit the App Store or Google Play Store on your smartphone and search for "Roidmi" to download the official Roidmi app. Install it, and then open it to get started.

4. **Pair your EVA Plus with the app:** Open the Roidmi app on your smartphone and tap on "Device" located at the bottom of the screen. Select "New device," then choose "EVA+" from the list. You will be prompted to enter a four-digit code displayed on your EVA Plus vacuum cleaner's LCD screen. Enter the code correctly, and your device will automatically connect to your smartphone via Bluetooth.

5. **Configure settings:** Once connected, you can customize various settings such as suction power mode, scheduling automatic cleaning times, and more within the app. You can also access helpful tips and troubleshooting guides if needed.

6. **Begin using your EVA Plus vacuum cleaner:** With everything set up correctly, you're now ready to start using your Xiaomi Roidmi Eve Plus vacuum cleaner! Simply press the power button on the device or use the app to control it remotely. Clean your floors and enjoy a hassle-free cleaning experience with your new Xiaomi Roidmi Eve Plus vacuum cleaner!

Can I change the virtual walls' battery on my Roborock S7 MaxV robot vacuum?

Yes, you can change the virtual wall's battery on your Roborock S7 MaxV robot vacuum. To do this, follow these steps:
1. Turn off the Roborock S7 MaxV robot vacuum and unplug it from the charging dock.
2. Locate the virtual wall that needs its battery changed. It is usually attached to a base station or charging dock with a cable connected to it.
3. Press and hold the power button on the virtual wall for 5-6 seconds until you hear a beeping sound, indicating that the virtual wall has entered sleep mode.
4. Unplug the virtual wall from its charging base or station.
5. Remove the battery cover of the virtual wall by pressing the small buttons located on both sides of the virtual wall.
6. Carefully remove the old battery and insert a new one in the same orientation as the previous one. Make sure you use a compatible battery with the correct voltage and capacity.
7. Replace the battery cover and press it back into place until you hear a click, ensuring that it is properly secured.
8. Plug the virtual wall back into its charging base or station and wait for it to charge completely. It may take up to 2 hours for the charging process to complete.
9. Once the virtual wall has been fully charged, press the power button again to wake it up. You should hear a beeping sound indicating that the virtual wall is now active.
10. Turn on your Roborock S7 MaxV robot vacuum and resume using the virtual walls as needed.

My Dreame Bot Z10 Pro is not mapping my room properly, it keeps getting stuck in an infinite loop and won't complete the cleaning cycle. What's going on and how do I fix it?

That sounds frustrating! The Dreame Bot Z10 Pro is a high-end robot vacuum cleaner, so it's disappointing to hear that it's not mapping your room properly. Firstly, let's rule out some common issues that might be causing the problem. Have you tried restarting the bot and making sure that the mapping process is enabled in the app? Sometimes, a simple reboot can resolve connectivity issues or get stuck processes unstuck. If that doesn't work, it's possible that there are physical obstacles in your room that are interfering with the bot's navigation system. Check if there are any large objects, curtains, or other obstructions that might be preventing the bot from mapping your space correctly. Another possibility is that the bot's sensors are being affected by dust, dirt, or hair accumulation on its lidar or ultrasonic sensors. Make sure to regularly clean these areas with a soft brush or cloth to keep them free from debris. If none of these solutions work, it might be worth checking for software issues. Have you tried updating the bot's firmware or app to the latest version? Sometimes, bugs in the software can cause navigation problems. Lastly, if the issue persists, it's possible that there's a hardware problem with the lidar sensor or another component of the bot. In this case, contacting Dreame's customer support for further assistance might be necessary.

My robot vacuum won't turn on, it just beeps twice when I press the power button and then stops working. What's going wrong?

1. Dead batteries**: Check if your robot vacuum is properly charged. If it's been a while since you last used it, try charging it for at least 2-3 hours to ensure the batteries are fully recharged. Power button issue**: It's possible that the power button on your robot vacuum is malfunctioning. Try pressing and holding the power button for a few seconds to see if it turns on. If neither of these possibilities solves the problem, let's move on to more complex potential causes:

1. Faulty motor or brushless controller**: The beeping sound you mentioned could indicate a problem with the motor or brushless controller. This is usually a more serious issue that requires professional assistance. Electronic board failure**: In some cases, the electronic board can fail, causing the robot vacuum to not turn on. If this is the case, it might require replacement or repair by a professional. To further diagnose the issue, you can try:

1. Checking for blockages**: Make sure there are no blockages in the vacuum's path that could be preventing it from turning on. Resetting the robot**: Some robot vacuums have a reset button that can be pressed to restore default settings. Check your user manual to see if this is an option for your model. If none of these troubleshooting steps work, it might be worth contacting the manufacturer's customer support or consulting a professional repair service for further assistance.

My waffles are not cooking evenly, is there something wrong with my machine or am I using it incorrectly?

There could be several reasons why your waffles aren't cooking evenly. Let's go through some possible causes. Firstly, let's consider the machine itself. Is your waffle iron non-stick or does it have a removable grid? Non-stick surfaces can sometimes cause uneven cooking if they're not properly seasoned or maintained. If you have a removable grid, make sure it's clean and free of any food residue. Another possibility is that the heat distribution in your machine might be uneven. Some waffle irons have a tendency to cook hotter on one side than the other. You can try rotating the waffles halfway through cooking to see if this improves evenness. Now, let's talk about usage. Are you using the right type of batter? Waffle batter should be thick enough to hold its shape but still pourable. If it's too thin, it might not cook evenly. Also, make sure your machine is preheated to the right temperature. If it's too hot or too cold, this can affect cooking evenness. Another thing to consider is the waffle iron's non-stick coating. Some coatings can degrade over time and lose their effectiveness. If you're using a non-stick coating that's worn out, this could be causing uneven cooking. Lastly, let's not forget about user error! Are you closing the machine evenly? Make sure the edges are aligned properly before closing it. If none of these possibilities seem like they could be the cause of your problem, then there might be something wrong with your machine. It's possible that the heating elements are malfunctioning or that there's a blockage in the waffle iron's channels. Try rotating the waffles halfway through cooking and see if this improves evenness. If it still doesn't work out, you might want to consider getting a new waffle iron.

"My robot keeps getting stuck under my bed, how can I prevent this and what's the best way to get it unstuck?"

1. Floor clearance**: If the robot is too close to the floor or has a low profile, it may be more prone to getting stuck under beds or other furniture. Wheal design**: The type of wheels on your robot could also contribute to the issue. For example, if they're designed for smooth surfaces, they might not handle carpets or rough flooring as well. Weight distribution**: If the robot is top-heavy or has a uneven weight distribution, it may be more susceptible to getting stuck. To mitigate these issues, you could consider upgrading your robot's wheels to ones that are better suited for navigating various floor types. Additionally, ensuring that the robot has enough clearance from the floor and adjusting its weight distribution might help prevent it from getting stuck. Now, let's move on to the issue of unsticking the robot. If it's already wedged under the bed, here are a few possible methods you could try:

1. Apply gentle pressure**: Use a gentle touch to push against the robot while pulling it forward or back. Be cautious not to apply too much force, which could damage the robot or the surrounding furniture. Use a long-handled tool**: If the robot is stuck in a tight space, consider using a long-handled tool like a broom handle or a pool cue to carefully pry it loose. This can be done from outside the bed frame, reducing the risk of damaging either the robot or the bed. Reposition the furniture**: If the robot is stuck under the bed due to its position, try repositioning the bed slightly to create more space between it and the floor. This might allow you to carefully maneuver the robot out from underneath. If none of these methods work, you may need to consider disassembling the robot or seeking professional assistance to safely extract it from the stuck position.

"My Roomba J7 is getting stuck under my couch, what can I do to prevent this from happening in the future?"

1. Clean the area around the couch**: Before running the Roomba, make sure the area around the couch is clear of any debris or clutter that might cause the vacuum to get stuck. Use the "clean" mode with caution**: If you're using the "clean" mode on your Roomba J7, be aware that it's designed for more thorough cleaning and may try to navigate under furniture. To prevent getting stuck, consider using the "quick clean" or "spot clean" mode instead. Adjust the "avoid" settings**: On your Roomba J7, you can adjust the "avoid" settings in the app to avoid certain areas of your home, including the space under your couch. This might not prevent the vacuum from getting stuck entirely, but it may reduce the likelihood. Use the "edge cleaning" mode**: If you have a particularly stubborn piece of furniture that's causing issues, try using the "edge cleaning" mode on your Roomba J7. This will allow the vacuum to clean along the edges and baseboards of your home more thoroughly, potentially reducing the risk of getting stuck. Consider investing in a Roomba dock**: If you have a lot of tight spaces or sensitive furniture in your home, consider investing in a Roomba dock. These can help guide your Roomba into safe areas and prevent it from getting stuck.

My Roborock S7 MaxV Ultra keeps getting stuck on my pet's water bowl, how can I prevent this from happening in the future?

1. Move the water bowl**: This might seem obvious, but try moving the water bowl to a location that's not on the robot vacuum's usual navigation path. If it's too heavy or difficult to move, consider placing it at an angle or against a wall, making it harder for the vacuum to get stuck. Use the "No Go" zone**: In the Roborock app, you can set up virtual barriers or "No Go" zones to prevent the vacuum from entering certain areas. Create a No Go zone around the water bowl to keep the vacuum away from it. Adjust the navigation settings**: Go to the Roborock app and adjust the navigation settings to avoid obstacles. You can also try increasing the obstacle avoidance sensitivity or adjusting the "Clean Mode" to a more cautious setting. Clear the area**: Make sure the floor around the water bowl is clear of debris, toys, or other objects that might cause the vacuum to get stuck. Consider a physical barrier**: If the above suggestions don't work, consider placing a physical barrier, like a small wall or a plastic cup, around the water bowl to prevent the vacuum from getting too close. Remember to always refer to your Roborock S7 MaxV Ultra's user manual for specific instructions on how to adjust navigation settings and use features like No Go zones.