Dyson 360 Eye

$799.99

With a HEPA-filter Dyson Dyson 360 Eye cleans even the smallest dust particles in your home. The dust collects in the vacuum cleaner’s 0.3 liter dust bin.

Category: Tags: ,

Description

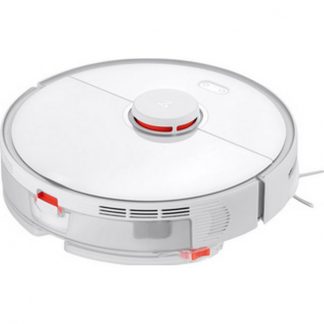
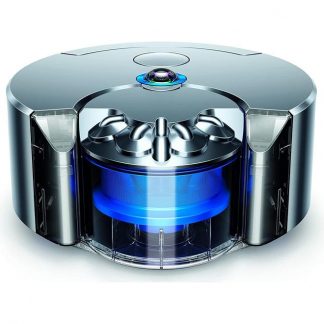
Dyson Dyson 360 Eye can without any problem move over regular doorsteps in your home. The vacuum cleaner can clean carpets and works best on short-haired ones. Equipped with a HEPA-filter, the vacuum cleaner can clean your home thoroughly.

If you love vacuuming, this isn’t the product for you. The range of robotic vacuum cleaners is large, so it’s important to research which model that best suits your needs. Right now you can get this vacuum cleaner from Dyson for the low price of £799.99.

1 review for Dyson 360 Eye

  1. Mariana Camacho

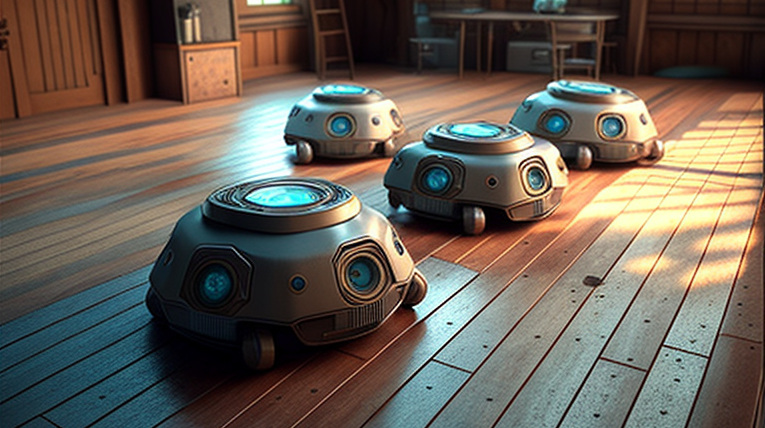
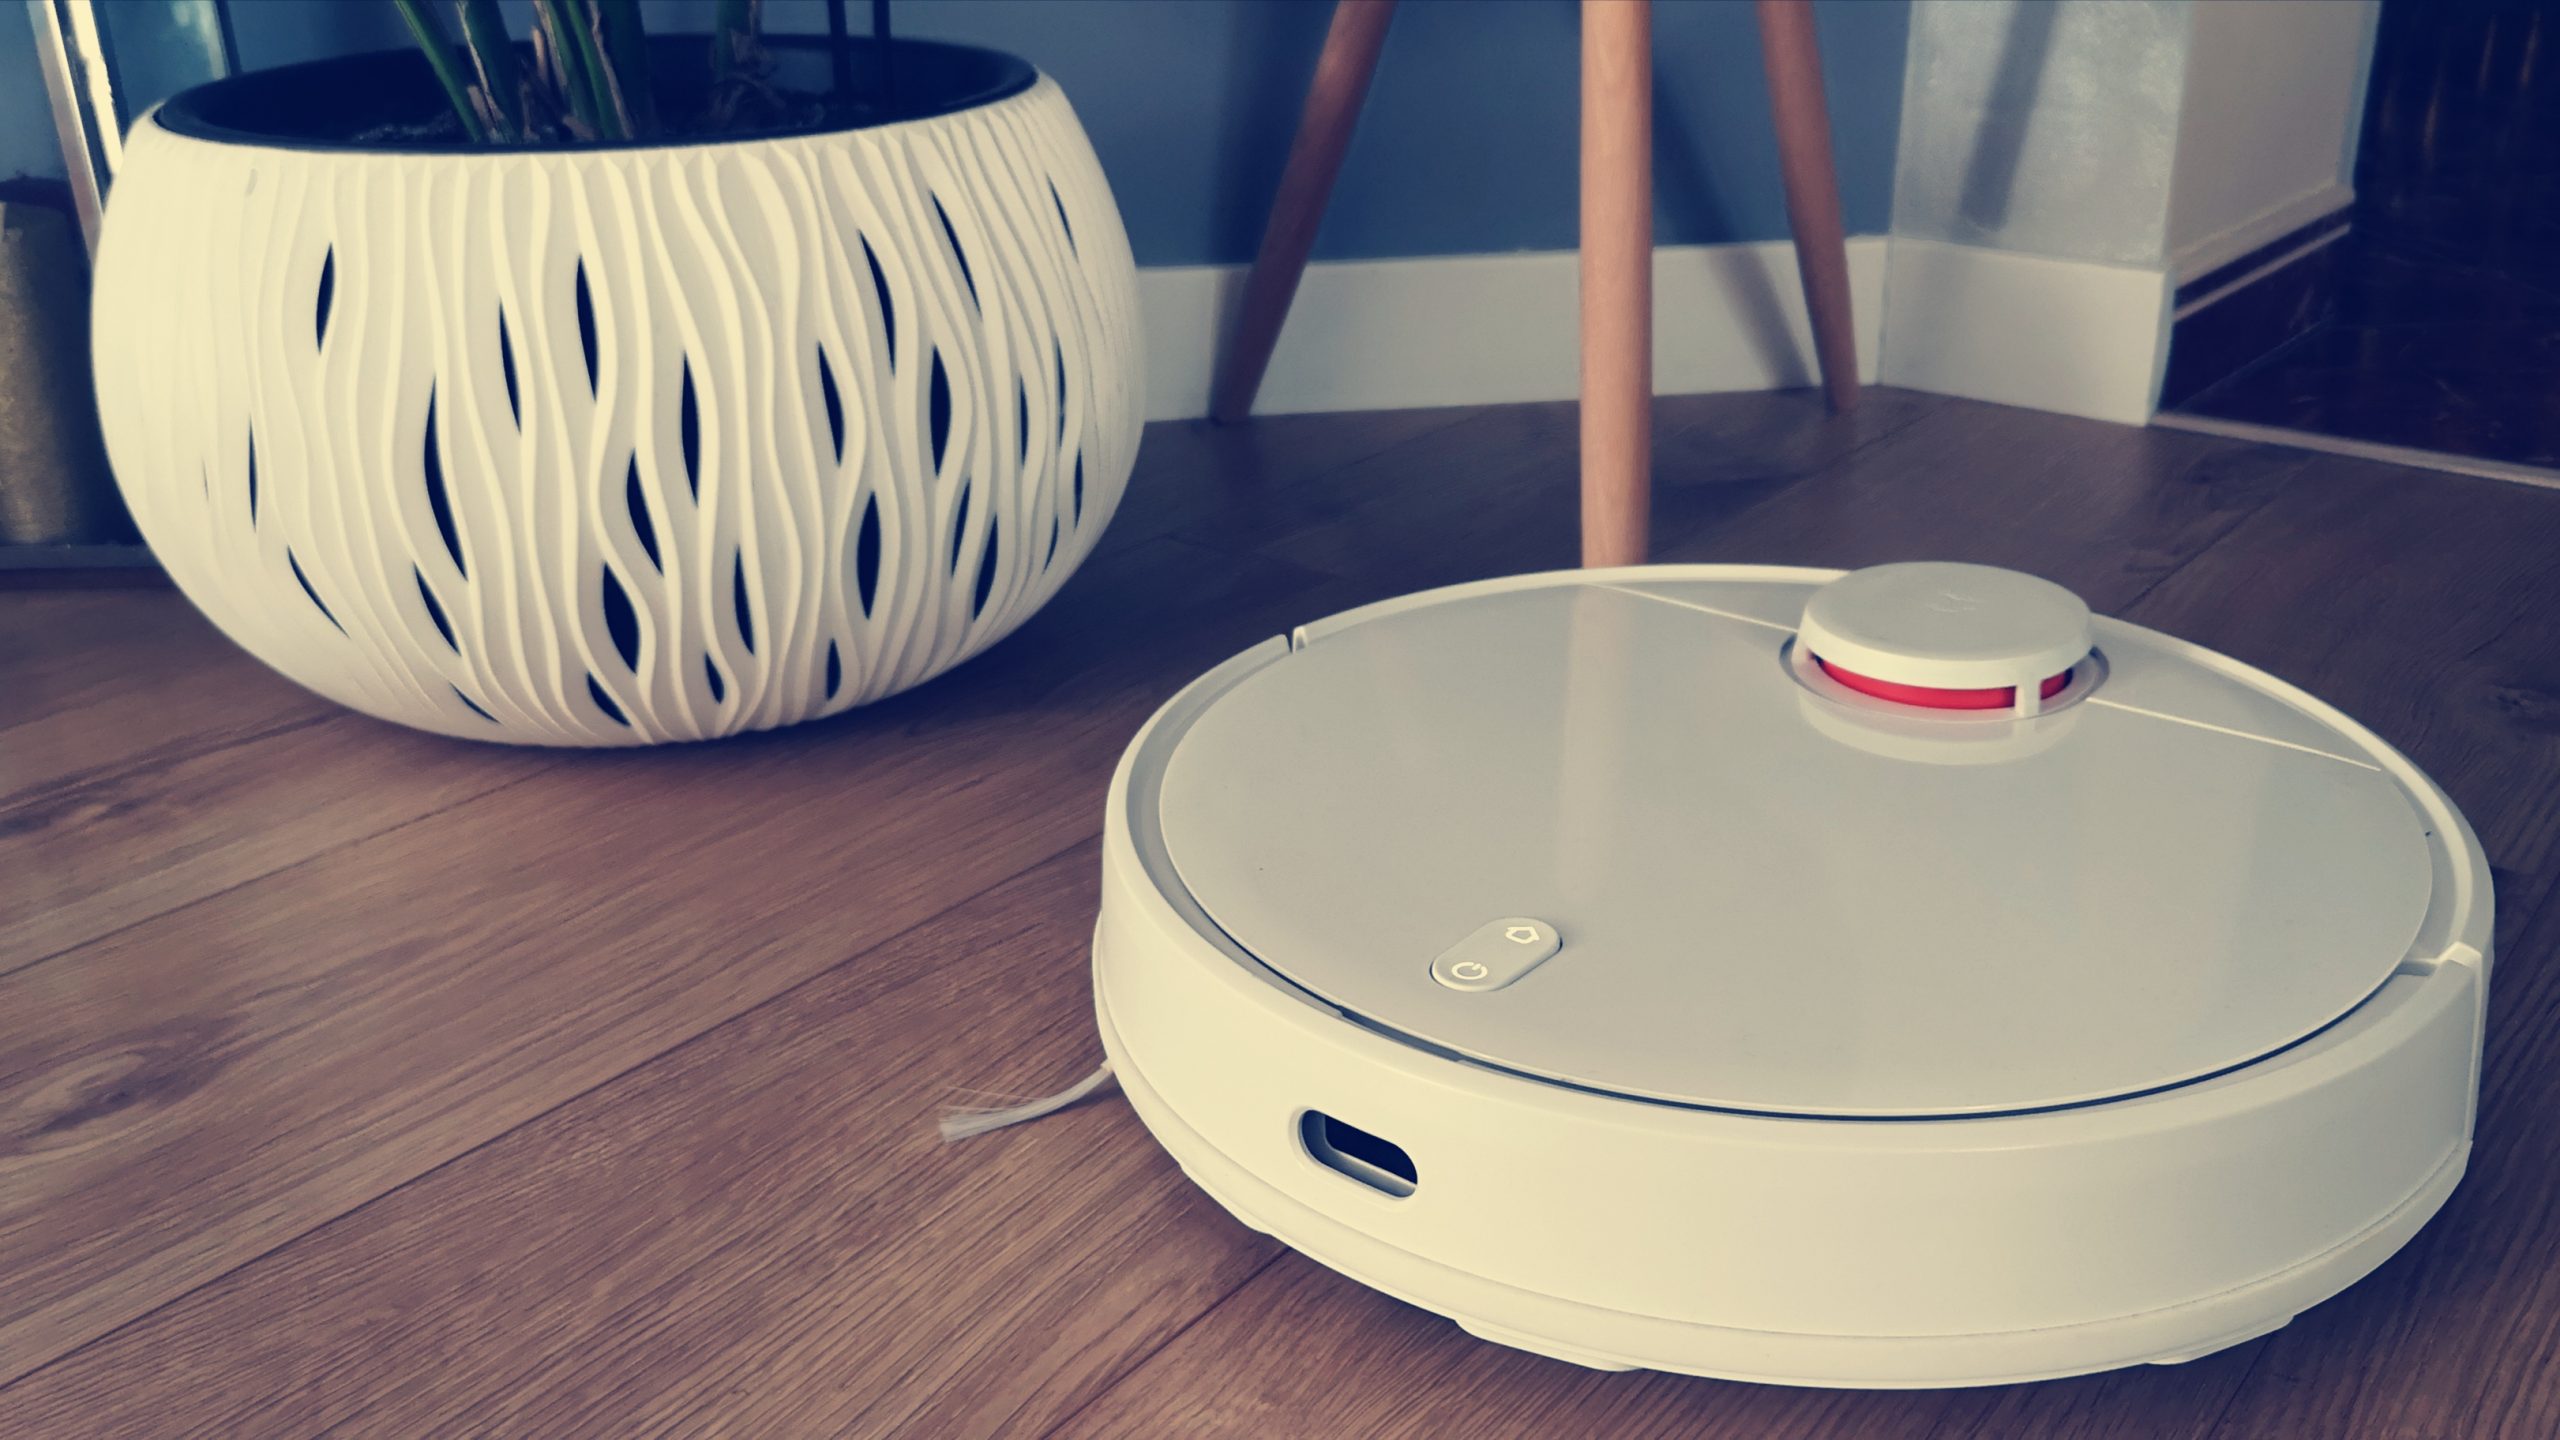
    I have always been intrigued by the concept of cleaning robots. During my recent vacation, I decided to finally invest in one of these innovative devices. While researching different options online, I encountered a wide range of products from various manufacturers. However, after much consideration, I ultimately chose to purchase a Cleaning Robot from a well-established and reputable company.

    In light of declining consumer sentiment and lower than predicted inflation expectations, it’s crucial to prioritize excellence in analyzing economic data for accurate reporting and insightful decision-making. As someone who closely follows the economy, I am particularly concerned about the current state of affairs in Fife and the broader business climate online. Despite these challenges, however, there are still opportunities for growth and success for those willing to adapt and innovate.

    When it comes to cleaning robots specifically, I have been thoroughly impressed with my new device. It has exceeded my expectations in terms of its efficiency, versatility, and overall performance. Some tips that may be helpful for others considering investing in a Cleaning Robot include:

    1. Research different brands and models carefully to ensure that you are getting a product that meets your specific needs and budget.
    2. Consider the size and layout of your home when selecting a cleaning robot, as some models may work better in certain spaces than others.
    3. Look for features such as scheduling, mapping, and remote control capabilities to make the most out of your investment.
    4. Don’t be afraid to read online reviews from other customers to gauge the overall satisfaction level with a particular brand or model.
    5. Finally, remember to always follow the manufacturer’s instructions carefully when setting up and operating your cleaning robot to ensure its longevity and effectiveness over time.

    I am proud to say that I have found all of these factors in the Cleaning Robot that I ultimately chose. It has transformed the way that I clean my home, allowing me to focus on other tasks while it handles the grunt work for me. And with its advanced technology and intuitive design, I have no doubt that it will continue to serve me well for years to come.

    In conclusion, if you are considering investing in a cleaning robot for your home, I highly recommend doing your research carefully and choosing a reputable brand or model that meets your specific needs and preferences. With the right product and approach, you too can enjoy the many benefits of this innovative technology and transform the way that you clean your home.

Add a review

Your email address will not be published. Required fields are marked *

Frequently Asked Questions:

How can I schedule regular cleanings using my iRobot Roomba J7?

To schedule regular cleanings with your iRobot Roomba J7, follow these steps:

1. Connect the Roomba to Wi-Fi: Ensure that you have successfully connected your Roomba J7 to your home Wi-Fi network. This allows you to use the iRobot Home app for scheduling and monitoring cleaning tasks.

2. Download the iRobot Home app: If you haven't already, download and install the iRobot Home app on your smartphone or tablet. The app is available for both iOS and Android devices.

3. Register and sign in to the app: Create an account by providing your email address and password. Then, sign in to your iRobot Home app using these credentials.

4. Connect your Roomba J7 to the app: In the iRobot Home app, click "Add" at the top of the screen, then choose "Vacuum." Search for your Roomba J7 and connect it to your account by following the on-screen prompts.

5. Schedule a cleaning task: Once your Roomba J7 is connected to the app, tap the "Clean" button in the center of the home screen. Here you can select a specific room or area that you want your Roomba to clean. Alternatively, you can choose "Custom" and create a customized cleaning schedule based on your preferences.

6. Set up a recurring cleaning schedule: To set up a regular cleaning schedule, tap the "Scheduled Cleaning" button at the bottom of the screen. You'll see options for setting daily, weekly, or monthly schedules. Select your desired frequency and time slots, then confirm your changes by tapping "Save."

Your Roomba J7 will now automatically start its cleaning tasks according to the schedule you have set up in the iRobot Home app. You can always adjust or cancel your scheduled cleanings as needed.

What is the best cleaning mode for my Roborock S7 MaxV Ultra to use on hardwood floors?

The best cleaning mode to use for hardwood floors with your Roborock S7 MaxV Ultra is the "Quiet Mode" and select "Hard Floor" in the app or on the robot itself. This will ensure that the robot uses the appropriate suction power and sweeping pattern designed for hard floor surfaces, and minimize any potential damage caused by excess force from brushes or vibrations.

How do I set up and use my Xiaomi Roidmi Eve Plus for the first time?

Here's a step-by-step guide to help you set up and start using your Xiaomi Roidmi Eve Plus for the first time:

1. **Charge the battery:** Before starting, make sure the battery is fully charged. Connect the charging cable to the power outlet and attach the other end to the EVA Plus vacuum cleaner. The charging LED indicator will light up during the charging process, which usually takes about 2-3 hours for a full charge.

2. **Install the dustbin:** After charging, remove the dustbin from its compartment on the back of the unit. To install it, simply press the lock button at the bottom and insert it into the designated slot until you hear a click. Ensure that the dustbin is correctly installed before proceeding with the setup process.

3. **Download the Roidmi App:** Visit the App Store or Google Play Store on your smartphone and search for "Roidmi" to download the official Roidmi app. Install it, and then open it to get started.

4. **Pair your EVA Plus with the app:** Open the Roidmi app on your smartphone and tap on "Device" located at the bottom of the screen. Select "New device," then choose "EVA+" from the list. You will be prompted to enter a four-digit code displayed on your EVA Plus vacuum cleaner's LCD screen. Enter the code correctly, and your device will automatically connect to your smartphone via Bluetooth.

5. **Configure settings:** Once connected, you can customize various settings such as suction power mode, scheduling automatic cleaning times, and more within the app. You can also access helpful tips and troubleshooting guides if needed.

6. **Begin using your EVA Plus vacuum cleaner:** With everything set up correctly, you're now ready to start using your Xiaomi Roidmi Eve Plus vacuum cleaner! Simply press the power button on the device or use the app to control it remotely. Clean your floors and enjoy a hassle-free cleaning experience with your new Xiaomi Roidmi Eve Plus vacuum cleaner!

Can I change the virtual walls' battery on my Roborock S7 MaxV robot vacuum?

Yes, you can change the virtual wall's battery on your Roborock S7 MaxV robot vacuum. To do this, follow these steps:
1. Turn off the Roborock S7 MaxV robot vacuum and unplug it from the charging dock.
2. Locate the virtual wall that needs its battery changed. It is usually attached to a base station or charging dock with a cable connected to it.
3. Press and hold the power button on the virtual wall for 5-6 seconds until you hear a beeping sound, indicating that the virtual wall has entered sleep mode.
4. Unplug the virtual wall from its charging base or station.
5. Remove the battery cover of the virtual wall by pressing the small buttons located on both sides of the virtual wall.
6. Carefully remove the old battery and insert a new one in the same orientation as the previous one. Make sure you use a compatible battery with the correct voltage and capacity.
7. Replace the battery cover and press it back into place until you hear a click, ensuring that it is properly secured.
8. Plug the virtual wall back into its charging base or station and wait for it to charge completely. It may take up to 2 hours for the charging process to complete.
9. Once the virtual wall has been fully charged, press the power button again to wake it up. You should hear a beeping sound indicating that the virtual wall is now active.
10. Turn on your Roborock S7 MaxV robot vacuum and resume using the virtual walls as needed.