

Description
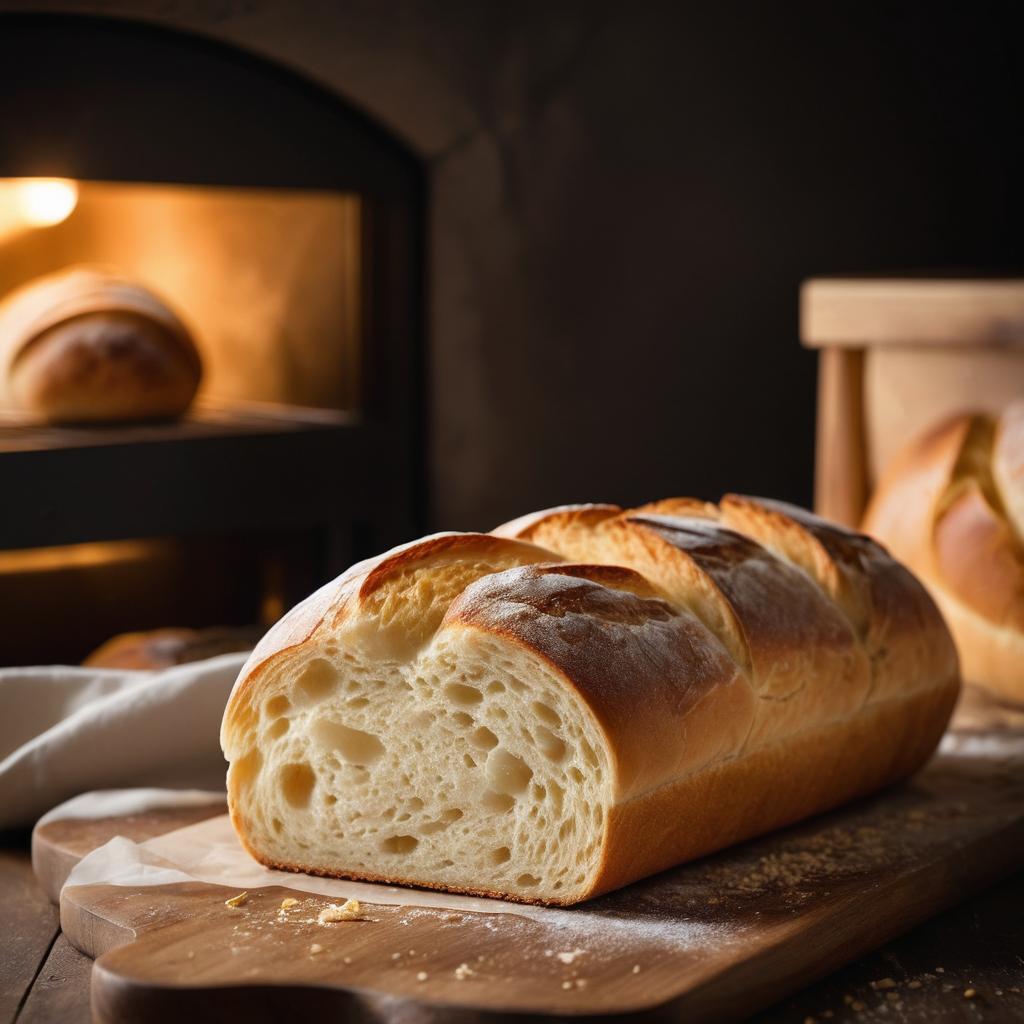
As someone who loves baking homemade bread, I was pretty excited to get my hands on the Panasonic SD-ZD2010 breadmaker. And let me tell you, it did not disappoint.
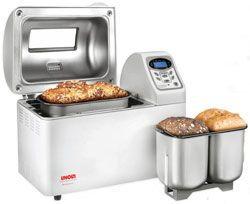
First of all, the machine is sleek and modern-looking, with a stainless steel finish and a clear LCD screen. But it’s not just about looks – this breadmaker has some serious features that make it stand out from the crowd.
One of the coolest things about the SD-ZD2010 is its built-in yeast dispenser. This means that you don’t have to worry about adding the yeast at the right time – the machine will do it for you, ensuring perfect results every time. I’ve had issues with yeast not activating properly in the past, so this feature is a game-changer for me.
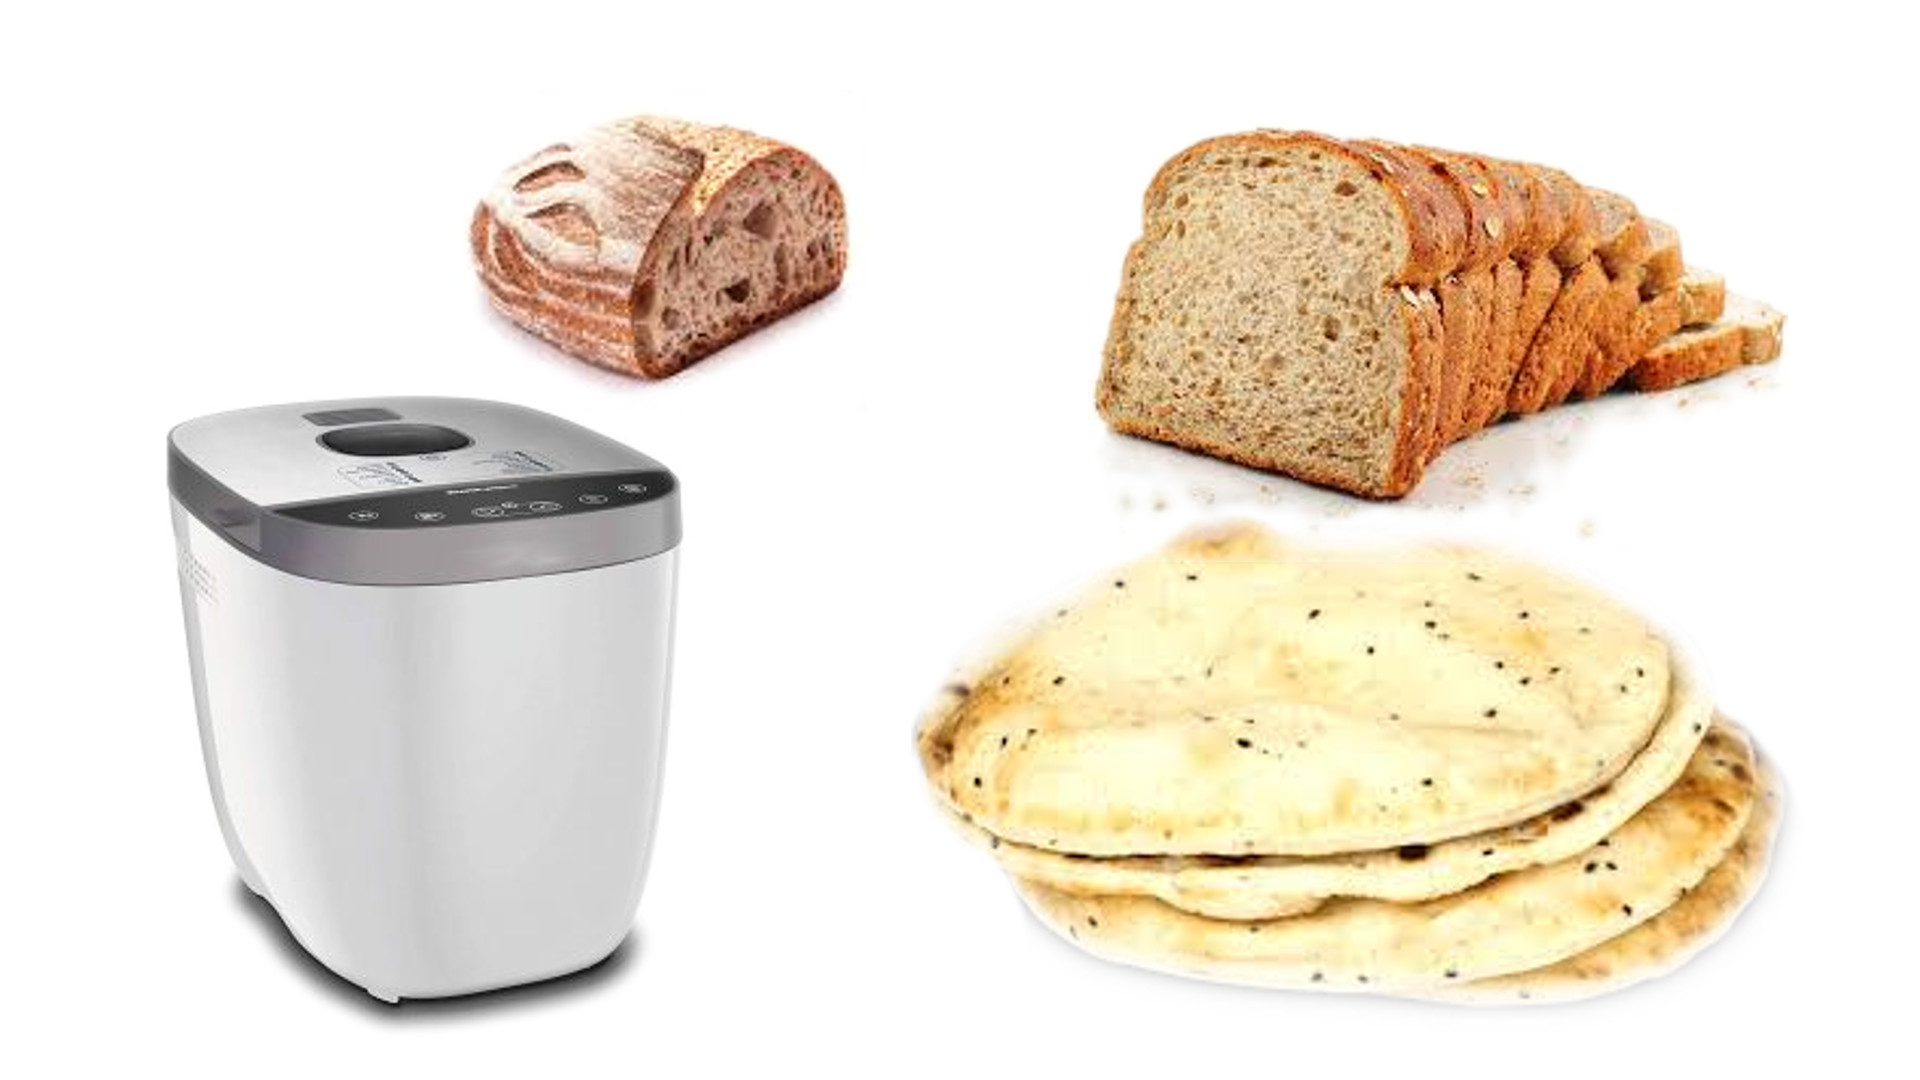
Another great feature is the variety of bread options available. There are 18 different programs to choose from, including settings for gluten-free bread, sourdough, and even pizza dough. I’ve experimented with a few different recipes so far, and all of them have turned out beautifully.
One thing that surprised me was how quiet the machine is. I’ve used other breadmakers in the past that were quite loud and disruptive, but the SD-ZD2010 is almost silent. It’s also very easy to use – simply add your ingredients to the pan, select your program, and let the machine do the rest.
Cleanup is also a breeze, thanks to the non-stick pan and removable parts. And if you’re worried about space, the machine is relatively compact, so it doesn’t take up too much counter space.
Overall, I’m really happy with the Panasonic SD-ZD2010 breadmaker. It’s a bit on the pricey side, but I think it’s worth the investment if you’re serious about making homemade bread. The variety of programs, built-in yeast dispenser, and ease of use make it a standout machine in my opinion.
Breadmaker with 700W, Timer, Jam and compote
Panasonic SD-ZD2010 properties
| Product name | SD-ZD2010 |
| Brand | Panasonic |
| Power | 700 W |
| Features | Browning control, Gluten free mode, Jam and compote mode, LCD display, Non-Stick Surface, Timer |
| Height | 340 mm |
| Depth | 404 mm |
| Width | 273 mm |
| Weight | 7.0 kg |


Maria Alvarez –
Hello everyone, I’m Bryson Jones from Bridgeport, living near 490 Saw Mill Rd, West Haven, CT 06516, United States. What a ridiculous day it’s been so far. First off, I saw this news about calorie labels having no effect on eating habits in England. Are you kidding me? That’s just what we need, another government policy that’s going to waste our time and money. They’re trying to tell us how many calories are in each food item, like it’s going to make a difference. Come on! We all know the truth – people are not going to stop eating junk food because of some label.
And what really gets my blood boiling is that this policy was brought in two years ago with such fanfare and now they’re just admitting defeat. What a waste of taxpayer dollars. I swear, government officials have no idea how to run a country. They’re more concerned with looking good on the surface than actually making real changes.
Now, enough about politics. Let’s talk about breadmakers. Specifically, one that really stands out from the rest – and I’m not just saying this because it makes me angry. This thing is a game changer. It’s like a miniature factory in your kitchen, churning out perfect loaves of bread every time.
First off, let’s talk about the technical aspects that make this model so unique. For starters, it has a built-in heating element and a specialized dough kneading system that ensures even mixing and distribution of ingredients. This means you get consistent results, batch after batch. And don’t even get me started on the bread quality – it’s like something out of a bakery.
Compared to other popular models, this one leaves them in the dust. The competition is stuck in the stone age, using outdated technology that can’t even come close to producing the same level of quality as this thing. It’s like they’re trying to hold back progress or something.
But what really sets it apart is its ability to make all sorts of bread – from classic white loaves to artisan-style sourdoughs and everything in between. And the settings are so intuitive, even a caveman could use it (no offense to any cavemen out there).
The best part? It’s not just for bread – you can also make pizza dough, cinnamon rolls, and even jam-filled pastries. The possibilities are endless.
In conclusion, if you want a breadmaker that’s truly in a league of its own, look no further. Just don’t expect me to be happy about it – I’m still fuming from the calorie label debacle.